Your account
When you sign up for Rumble Cloud, you'll use your free Rumble.com user account to authenticate.
Once you register using you Rumble.com account, the system will create a Rumble Cloud user account that you'll use for your cloud projects.
Organizations, projects, users, and roles
- Each user is associated with an organization and is assigned a team role within that organization.
- Each organization has at least one
Ownerwith full permissions for managing the organization, with other roles are available for team members, organization admins, and billing admins. - Organizations contain projects, which are the environments of cloud resources provisioned and billed according to a monthly resource tier.
- Users from an organization are assigned to projects.
- Users access cloud projects through the Rumble Cloud console user interface, from where they can create virtual machines, storage, networking, and other cloud resources.
- Each user associated with a project is assigned project-specific access roles (distinct from the team roles associated with the user's organization).
- Project roles include project admin, read-only access, VM admin, and object storage admin.
Rumble Cloud websites
- Sign up and manage your Rumble.com account at https://auth.rumble.com/
- Sign up and manage your Rumble Cloud account at https://portal.rumble.cloud/web/login
- Sign into your Rumble Cloud projects from your Rumble Cloud Portal dashboard
How accounts work
- You'll use a single Rumble.com account to access Rumble Cloud and other Rumble platforms.
- You can register by providing an email and password
- You can also register using Single Sign-On (SSO)
- You can enable and manage Two-Factor Authentication (2FA) from Rumble.com settings
Create your Rumble Cloud account using SSO
You can create a new Rumble Cloud account using Single Sign-On (SSO). Available providers include:
- Apple
To use SSO, make sure you already have an account with one of the providers. You'll then use your provider's login credentials for your Rumble Cloud (and Rumble.com) account.
Create your Rumble Cloud account using email and password at Rumble.com
First-time sign-in
After registration, go to https://portal.rumble.cloud/web/login.
- You'll set up your payment method for monthly billing.
- You'll set up your Rumble Cloud organization. Your organization can contain one or more projects.
- You'll create your first Rumble Cloud project. The project is the cloud environment in which you'll access and deploy all of your cloud architecture. When you login into the Rumble Cloud console, you'll work within the project and be able to switch between multiple projects.
Enable Two-Factor Authentication (2FA)
Two-Factor Authentication is managed from your Rumble.com user settings (which manages 2FA across all Rumble platforms, including Rumble Cloud).
To enable, visit http://rumble.com/account/security/ and select Setup Two-Factor Authentication.
You’ll be able to set email as your initial 2FA method. Once enabled, you’ll use 2FA when you login to any of your Rumble services. After you initially enable 2FA, you can optionally switch to using SMS or an authenticator app.
Sign into Rumble Cloud portal
The Rumble Cloud portal is where you'll manage your Rumble Cloud organizations, projects, members, and billing.
-
Select Sign in with Rumble to authenticate.
- If you are not signed in, you'll be prompted to sign into your Rumble.com account.
-
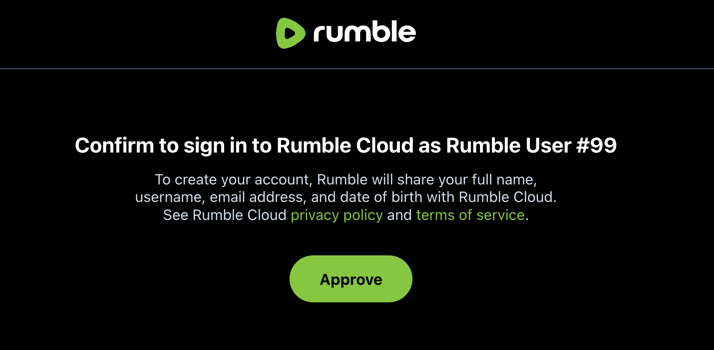
You'll be asked to confirm your approve sign in.
Get started checklist
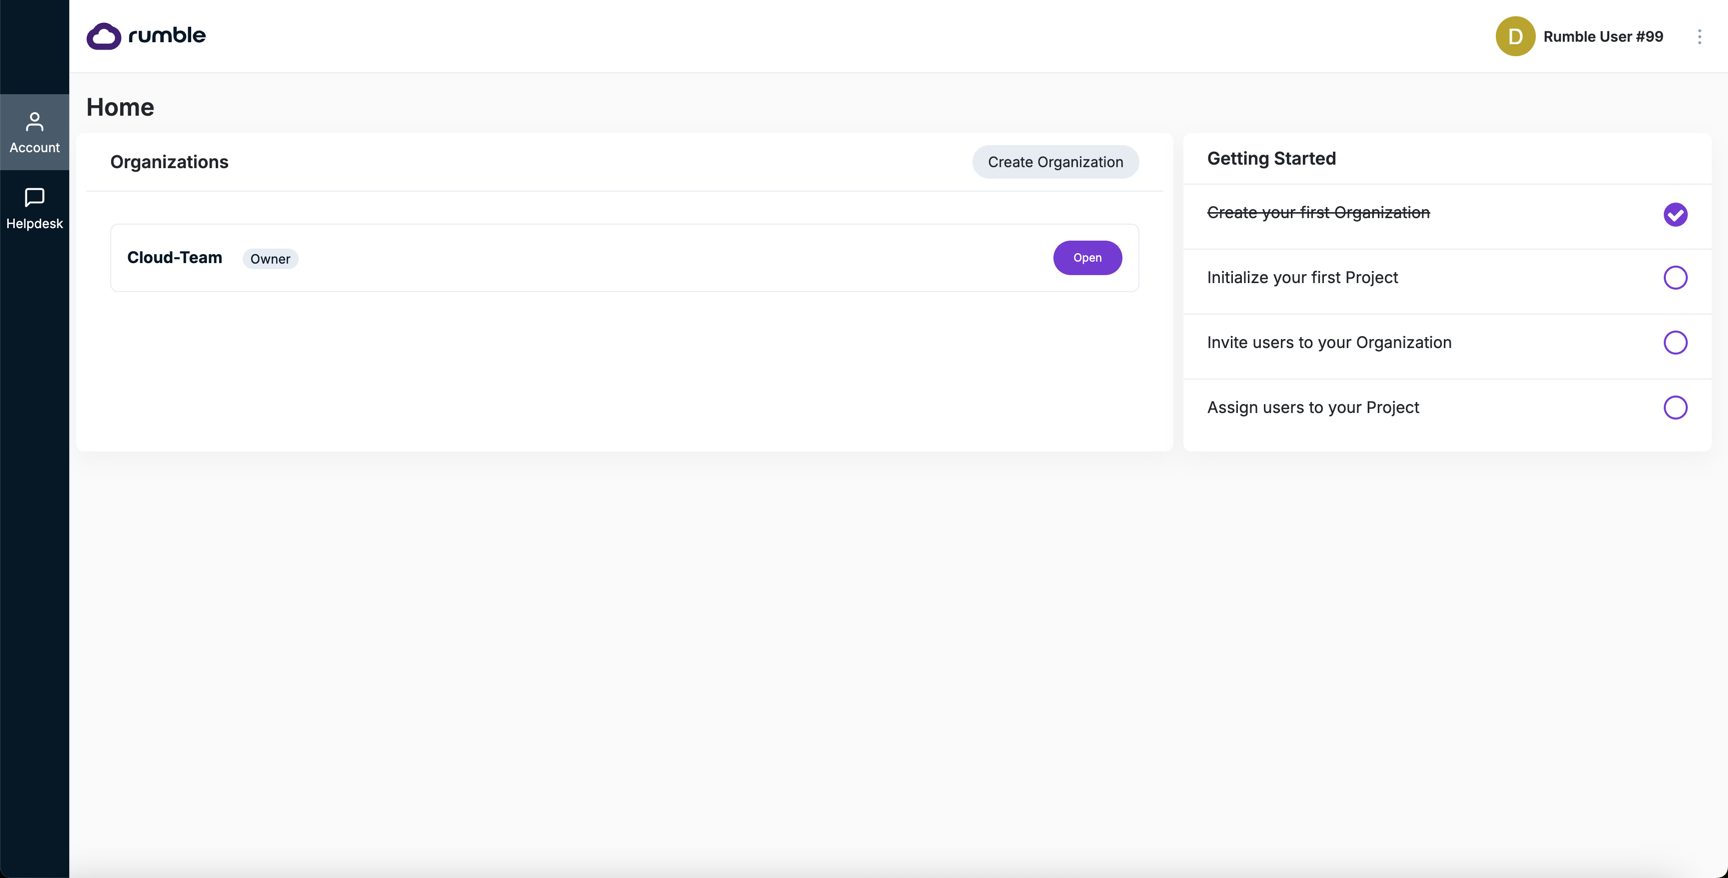
Consult the checklist to get started:
- Create your first Organization
- Initialize your first Project
- Invite users to your Organization
- Assign users to your Project
Create an organization
- Select Create Organization
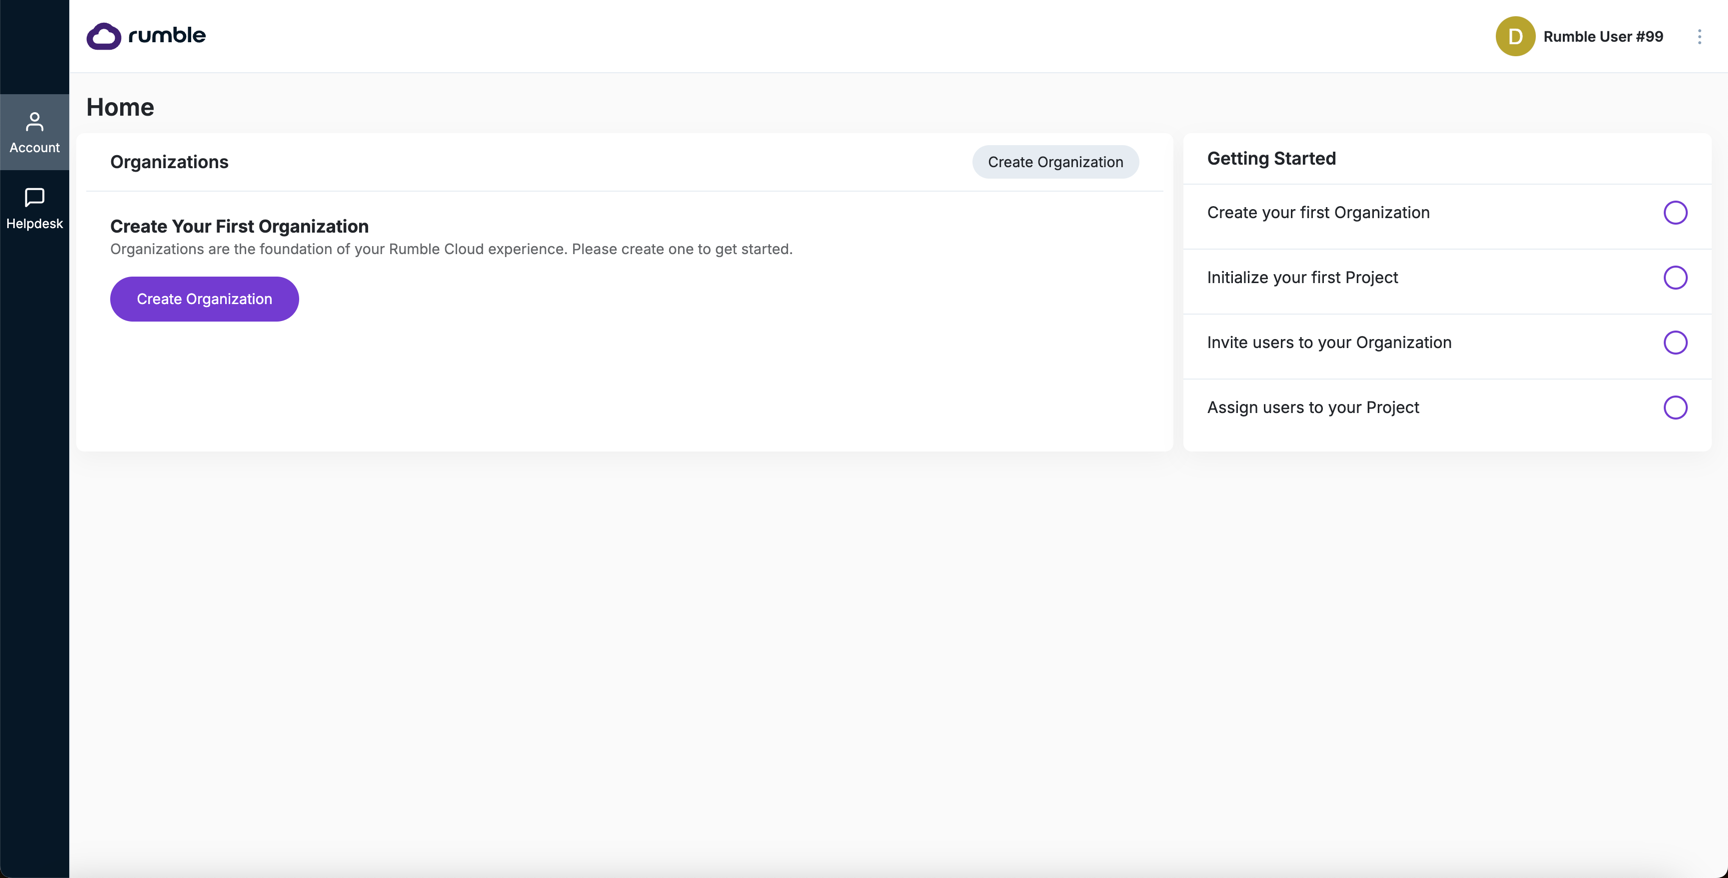
- Provide a name and optionally a website and description for the project.
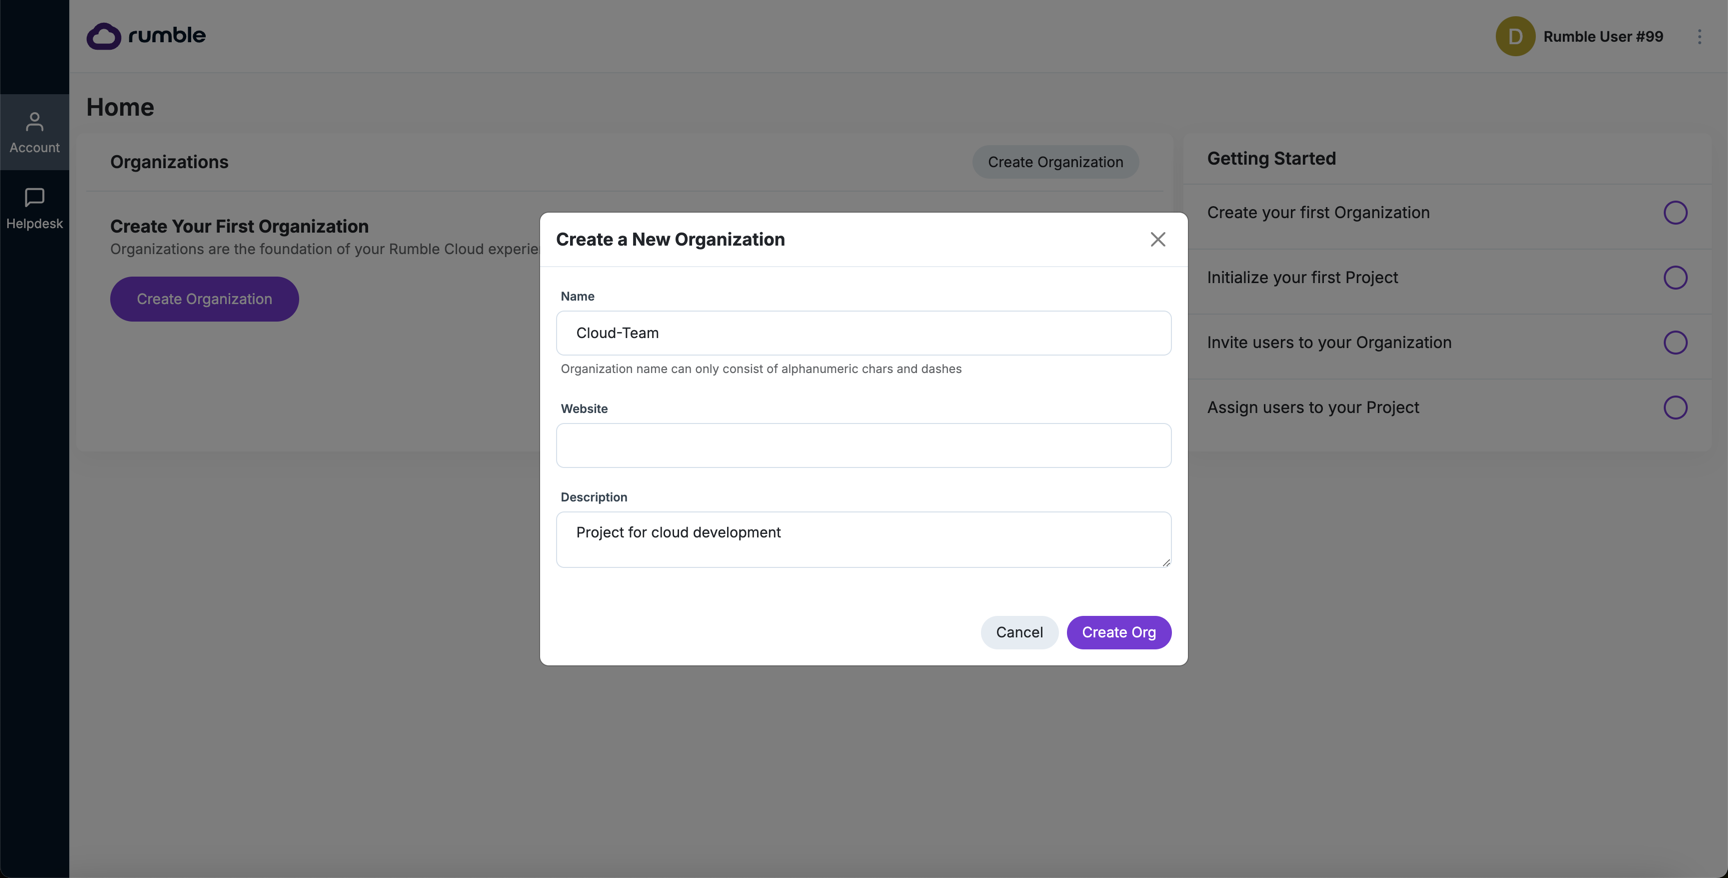
- You'll see your organization displayed in the Cloud portal home page.
Create a project
Add members to your team
You can invite users to join your organization as team members.
- Go to Organization > Team.
- Select Invite Users.
- Provide an email address.
- Select the Team Role for the invitee.
Team members can be assigned the following team roles for within the organization:
- Owner: Owners have full control within the organization, including managerial features, reporting, analytics, and high-level configurations. Can access credit card/payment information. You can assign the role of owner to more than one person. Owners control which users have access to each project.
- Manager: Managers can do everything an owner can do except for remove, update, or create owners.
- Member: Members have limited permissions compared to managers and owners. Members can view details of projects and organizations, view team members of an organization, but cannot modify anything or access system-wide configurations or advanced features. Viewing project information is limited to projects to which the owner has been granted access.
- Billing Admin: Billing admins have access to billing functions, control tiers for each region within a project, and make payments directly. Billing admins cannot assign user roles or manage users but can View them.
Getting around the Rumble Cloud portal
Once signed into the Rumble Cloud portal, you'll be able to view and manage your account, projects, subscriptions, and payment methods. You can upgrade and downgrade your subscription and add or remove cloud resources.
Use the left-hand navigation menu to navigate the portal. Select the Account icon to display the left navigation options:
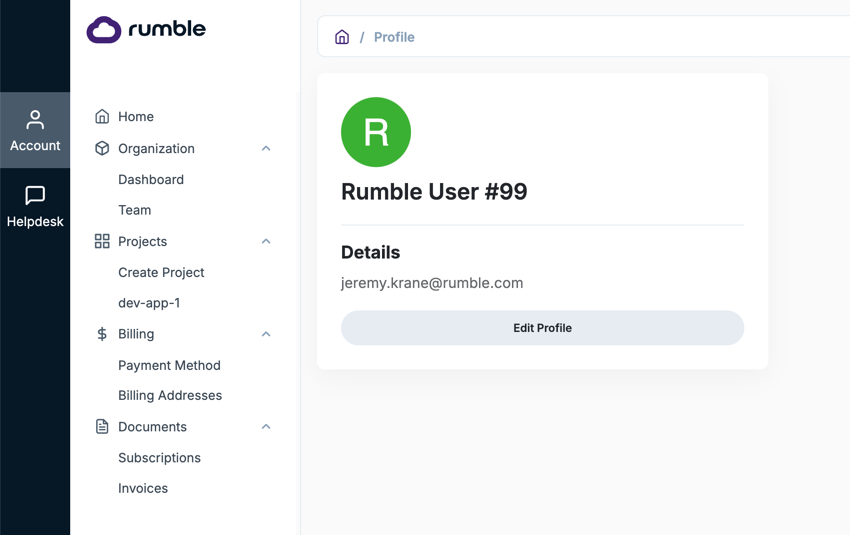
- Home
- Organization > Dashboard
- Organization > Team
- Projects > Create Project
- Projects >
<your-project-name1>,<your-project-name2>, etc. - $Billing > Payment Method
- $Billing > Billing Addresses
- Documents > Subscriptions
- Documents > Invoices
Update your profile
- Go to General > Profile to view or edit your profile information. From here you can update your physical address, phone number, and your email address.
- Select Save to save your changes.
Update your organization
- Go to Organizations > Dashboard.
- Select Edit Organization.
- You can update the description and website for the organization. Note that you cannot change the organization name.
- Select Save to save your changes.
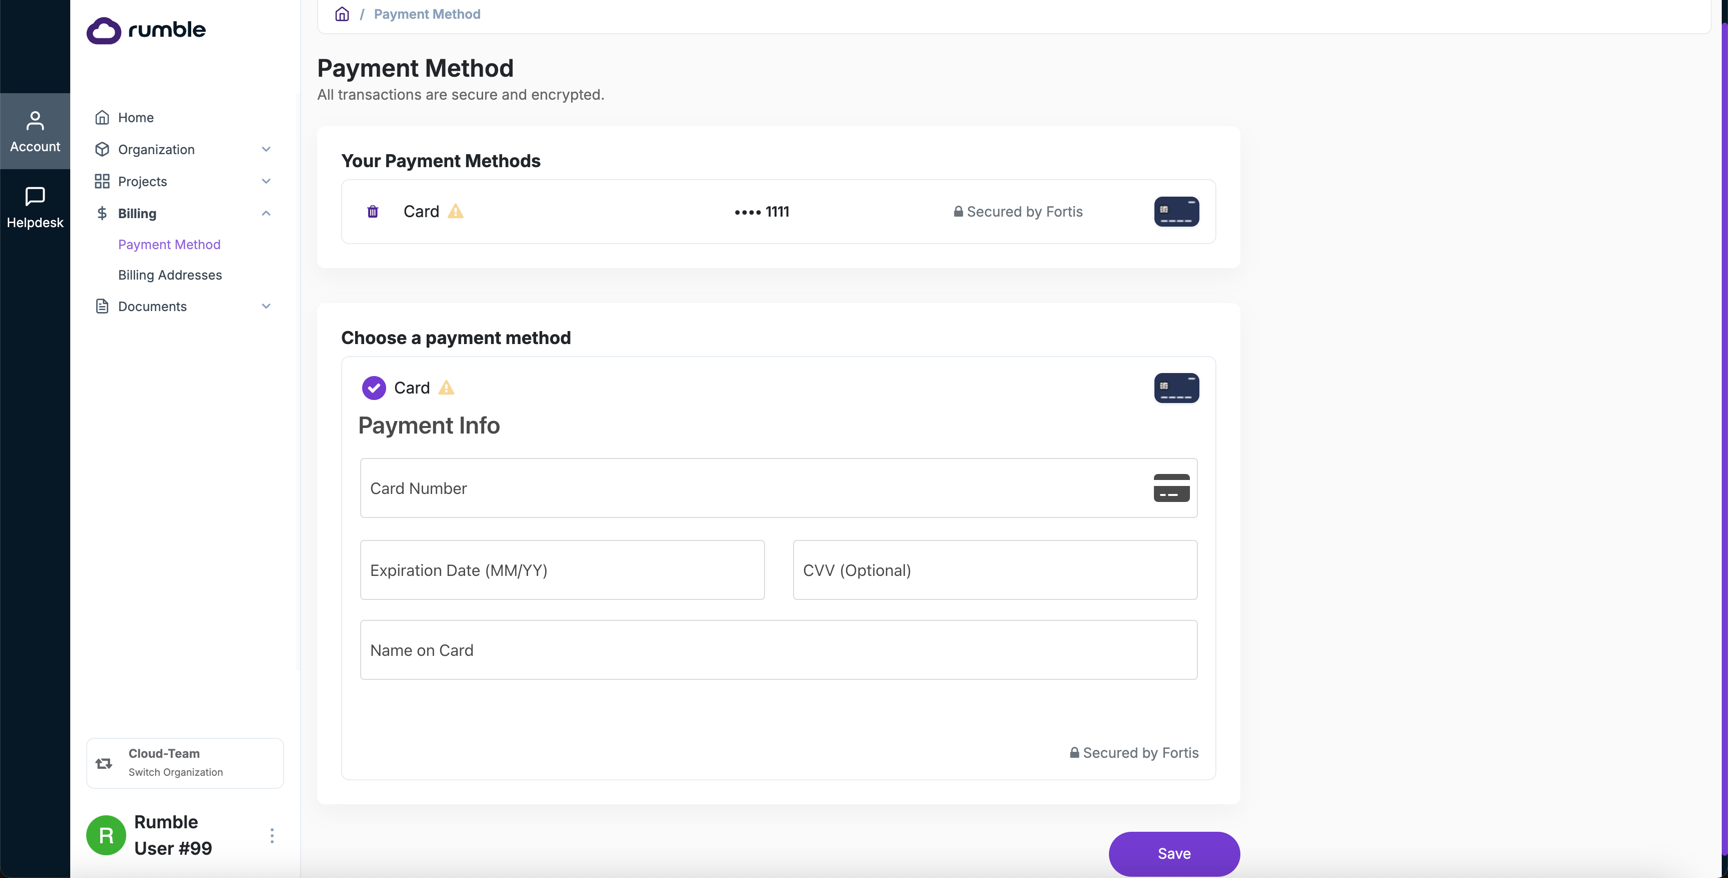
Manage your payment method
- Go to Billing > Payment Method.
- You'll see a list of your current payment methods.
- Select the Trash icon to delete a payment method.
- You can add a new payment method from this screen. Select Save after you've entered the credit card information to save the new payment method.
Manage your billing address
- Go to Billing > Billing Addresses.

Add an address
Select + Add address to add a new billing address. Provide your address information and select Save.
Edit an address
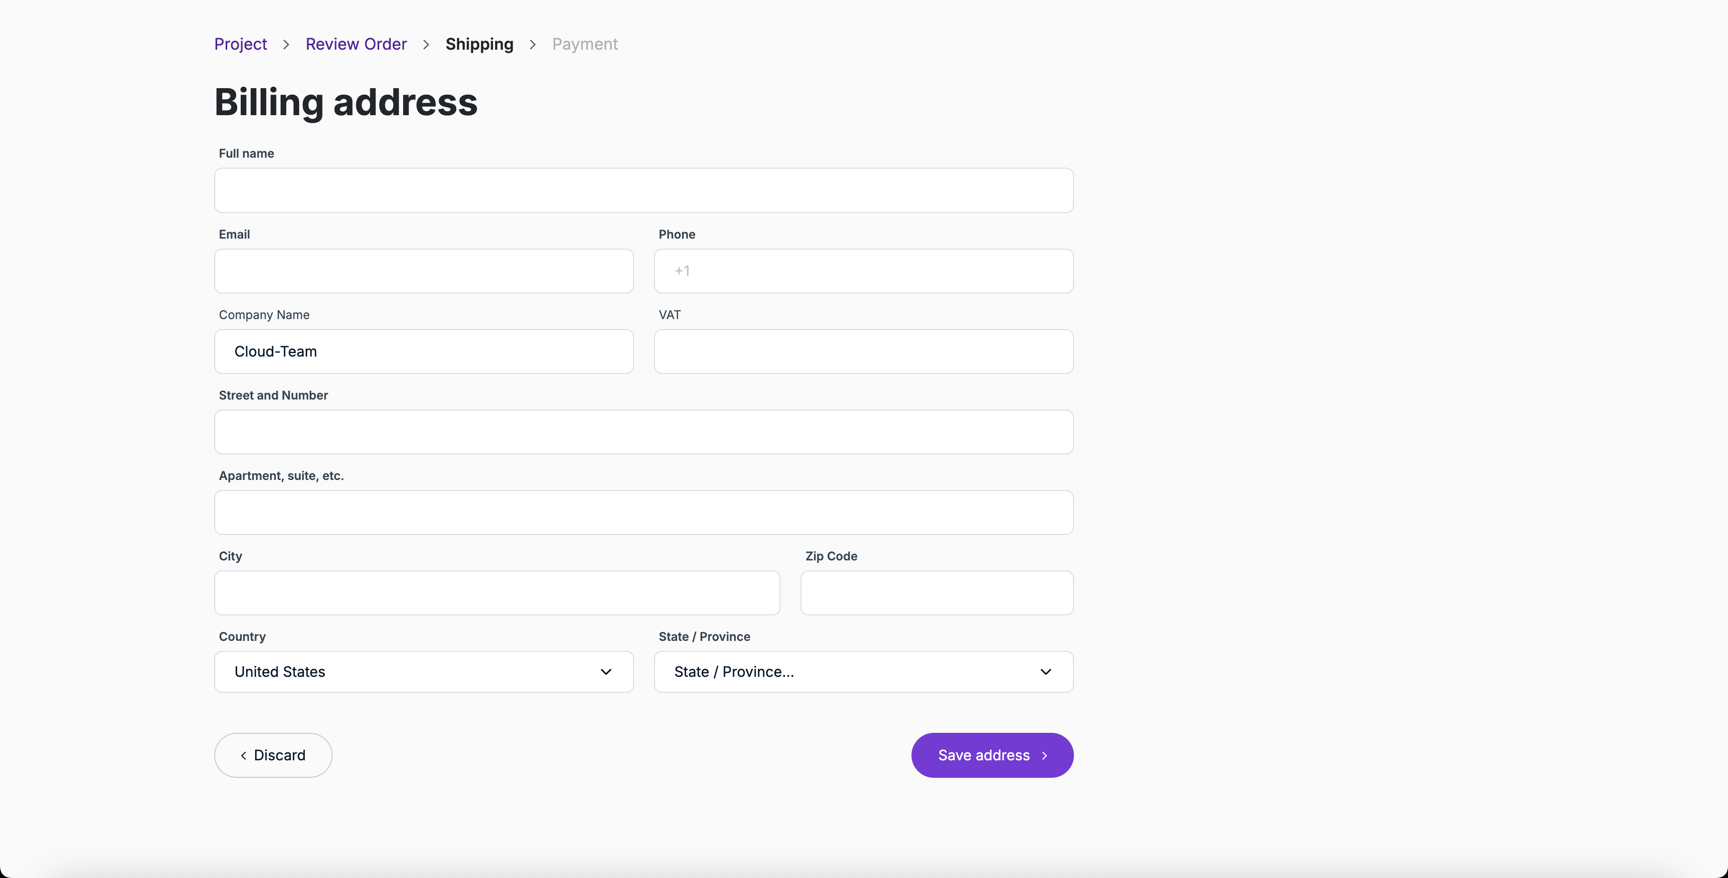
Select Edit to edit an existing address.
