Manage cloud projects
You'll manage your cloud subscription and services from the Rumble Cloud portal.
- Go to https://portal.rumble.cloud/web/login to sign in.
- Once signed in, select Open adjacent to your organization to view the organization details.
- From the organization page, you'll be able to view existing projects or add a new project.
-
You'll also see a list of your projects under the Projects navigation menu option, with the option to create a new project.
-
Projects are associated with an organization that you define when first setting up your Rumble Cloud account.
- Projects are billed according to the resource tier and any additional paid options you select (see below for more information).
- You'll access your projects from the Rumble Cloud portal.
See also the Account guide for more information about Rumble Cloud accounts.
Resource tiers
You'll select a resource tier for each project. Each tier provides a set of resources for a fixed monthly price, starting with introductory Developer Tiers for shared vCPUs and scaling up to dedicated vCPUs. See Resource Tiers for more information.
Create a project
You can create multiple projects in Rumble Cloud.
- Select Projects > Create Project.
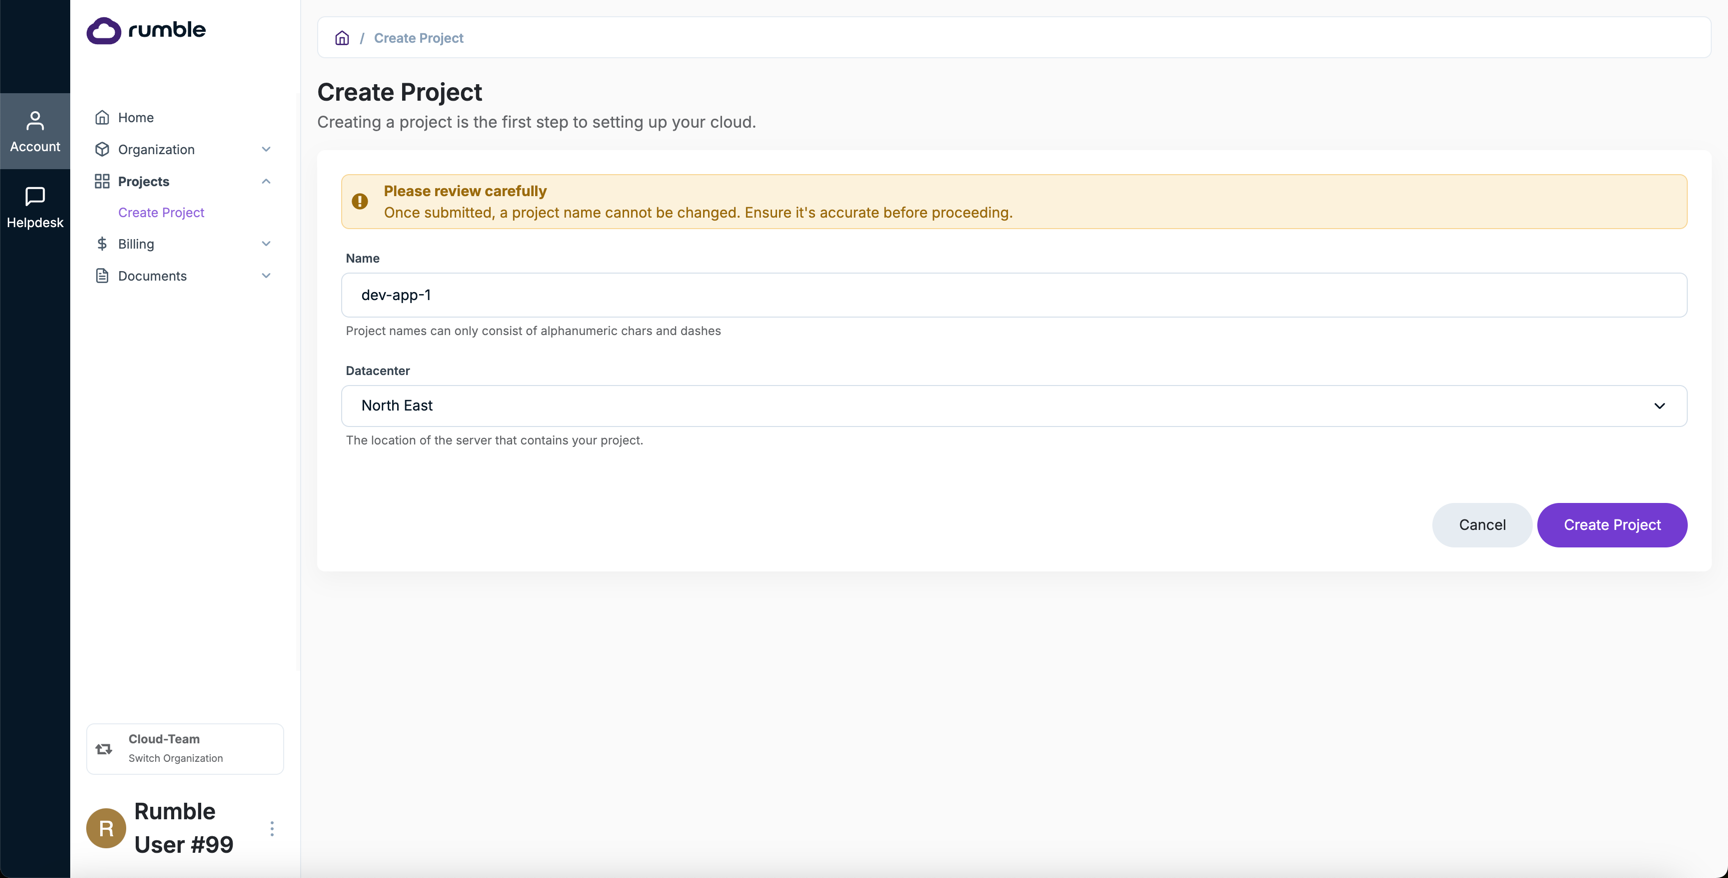
- Provide a name for the project. You won't be able to change the project name after you create it.
- Select the datacenter location for the project. Choose from a list of data centers located in different regions. Pick the region that is closest to you or your business.
- Select Create Project.
- Select the resource tier and any options to add to your checkout cart.
- Add your billing address.
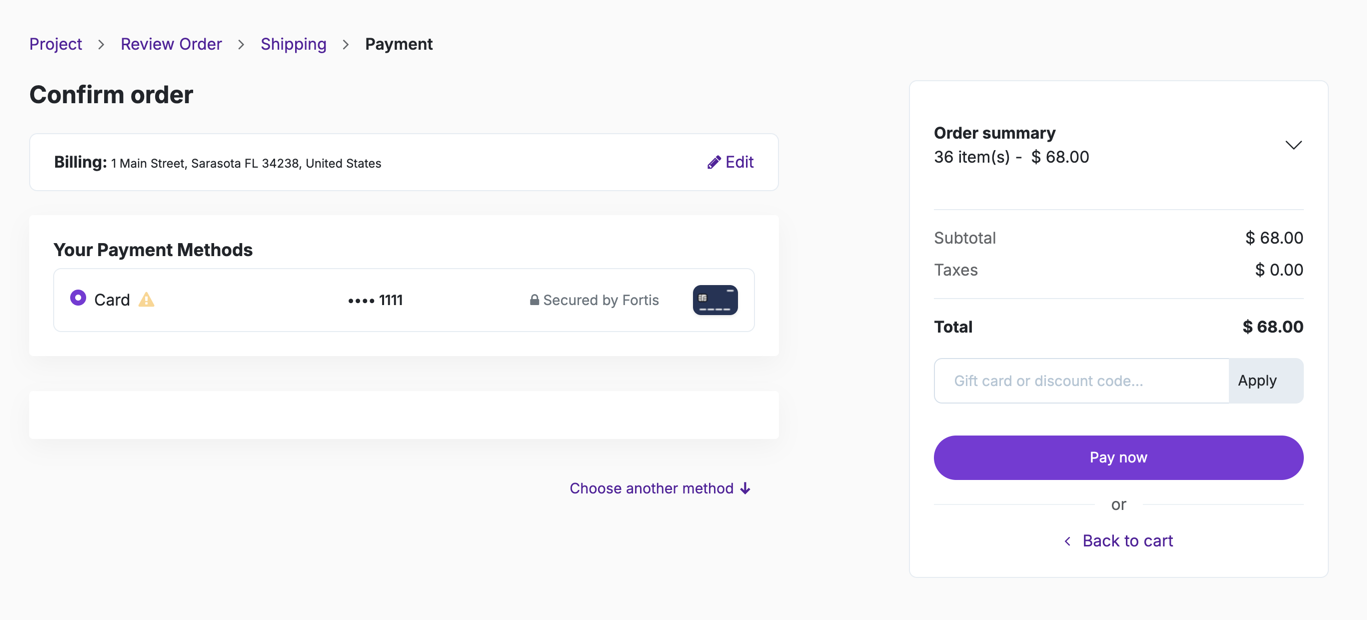
- Confirm your order. Select your payment method, add a new payment method, or edit your billing address before paying.
- Select Pay now to complete the order.
- After payment, select Open Cloud Project to open your Cloud Console for the project.
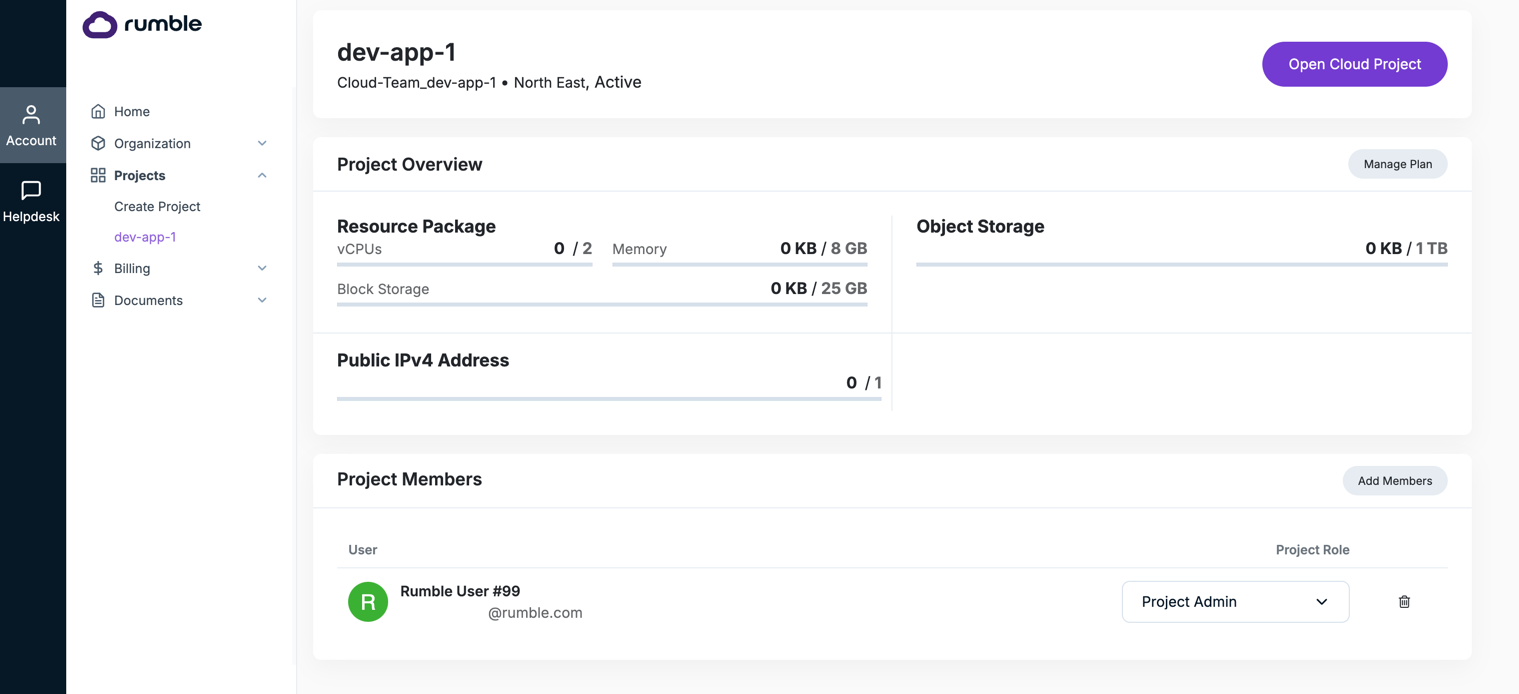
Manage a project
- Select Projects >
<your-project>from the list of available projects to view the project details.
Add team members to a project.
- Select Projects >
<your-project>. - Under the Project Members section, select Add Members.
- Assign a project role for the team member:
- Project Reader - Read only access to compute resources (VM's, Load Balancers, Routers, etc.)
- VM Admin - Full read-write access to compute resources (VM's, Load Balancers, Routers, etc.)
- Object Storage Admin - Full read-write access to object storage resources (buckets, object, bucket / object permission and access rights)
- Project Admin - Full read-write access to both compute and object storage resources (equivalent to having both VM Admin and Object Storage Admin roles)
Note: you'll need to add team members at the organization level for them to be available to be added to projects. See Add team members to your organization
Open my cloud project
- Select Projects >
<your-project>from the list of available projects to view the project details. - Select Open Cloud Project.
- A new browser window opens with the correct address for your project. You'll be automatically authenticated into the Rumble Cloud console for your project.
Upgrade or downgrade resource tiers
- Select Projects >
<your-project>from the list of available projects to view the project details. - Select the resource tier you need for your project.
- Optionally customize your resource tier by adding more vCPUs, memory, block storage, object storage or public IPv4 addresses.
- Select Proceed to checkout to upgrade or downgrade your resource tier.
Pause your resource tier
You can keep your account active but pause the use of your resource tiers. You will not be billed for any services and can resume using services at a future date if you want to. Please contact support.cloud@rumble.com if you need to completely delete your account.
Note
You'll need to delete any provisioned VMs, networks, routers, storage, and other cloud components before you can pause your resource tier.
- Select Projects >
<your-project>from the list of available projects to view the project details. - From the Customize your resource tier section, reduce all of your vCPUs, memory, block storage, and object storage to 0. You'll see you charges are now at $0.00.
- Select Proceed to checkout to pause your resource tier. You won't be charged until if or when you decide turn on your resources again.
- Confirm the order.
- You'll return to the project page and see your amount owed is $0.00 a month.
- Select Documents > Subscriptions to confirm your subscription total is $0.00.