Manage a Kubernetes cluster
This guide provides an example of how to manage a Kubernetes cluster using the Rumble Cloud Console and your local computer.
In this guide, you’ll learn how to:
- Download the kubeconfig file
- Use the kubeconfig file to access the cluster using the command line
- Inspect the cluster
- Deploy an app and service in Kubernetes
- Access the app using a web browser
- Tear down the cluster
This guide assumes that:
- You’re logged into Rumble Cloud
- You’ve installed the OpenStack CLI tools
About containerization on Rumble Cloud
Rumble Cloud provides a platform where you can implement different cloud-based solutions, including container orchestration. The Kubernetes service is just one way for you to run containerization, and the tools provided still require you to plan for and manage your Kubernetes project according to your own requirements. While Rumble Cloud supports the underlying container service for your project, it’s up to you to manage your specific Kubernetes implementation.
Create a cluster
If you haven’t already done so, follow the instructions in Create a Kubernetes Cluster.
Set up credentials
- Open the Terminal application on your local computer.
-
The standard OpenStack command line tools might not include the client for Magnum service (used for containers). Type the following command to install the OpenStack command line tools for Kubernetes service (Magnum). You'll use the command line to retrieve the kubeconfig file for the cluster.
-
In the Rumble cloud console, go to API > App Credentials > Create Application Credentials.
- Provide a name (such as 'cluster') and select the 'Unrestricted' option.
- Click OK to create the credentials.
-
You'll be presented with a screen that let's you copy the credentials. Select the option to download the openrc.sh file.
-
Using the Terminal on your local computer, source the downloaded openrc file. For example, if the openrc.sh source file downloaded to your 'Downloads' folder, type the following.
Access the cluster
-
Download the kubeconfig file by typing the following command in the Terminal.
-
The command returns another command you can type to use the kubeconfig file. Type the command in the Terminal to use the config file. For example:
-
You can now use the 'kubectl' command in the Terminal to manage the Kubernetes cluster. For example, type the following to list all resources in a namespace.
-
You'll see the following.
Deploy an application
-
Type the following in the Terminal to deploy Nginx.
-
Type the following to display the new pod with the Nginx application.
-
You'll see a listing similar to the following, showing the new ngnix-deploy app.
BashNAME READY STATUS RESTARTS AGE pod/nginx-deploy-99976564d-mpjjg 1/1 Running 0 102s NAME TYPE CLUSTER-IP EXTERNAL-IP PORT(S) AGE service/kubernetes ClusterIP 10.254.0.1 <none> 443/TCP 4d5h NAME READY UP-TO-DATE AVAILABLE AGE deployment.apps/nginx-deploy 1/1 1 1 102s NAME DESIRED CURRENT READY AGE replicaset.apps/nginx-deploy-99976564d 1 1 1 102s -
Type the following to create a service for the application. It will create a load balancer and assign a port. Once created, these new components will also be visible in the cloud console interface.
-
You'll see the following.
-
Type the following to see the external IP address for the new service.
-
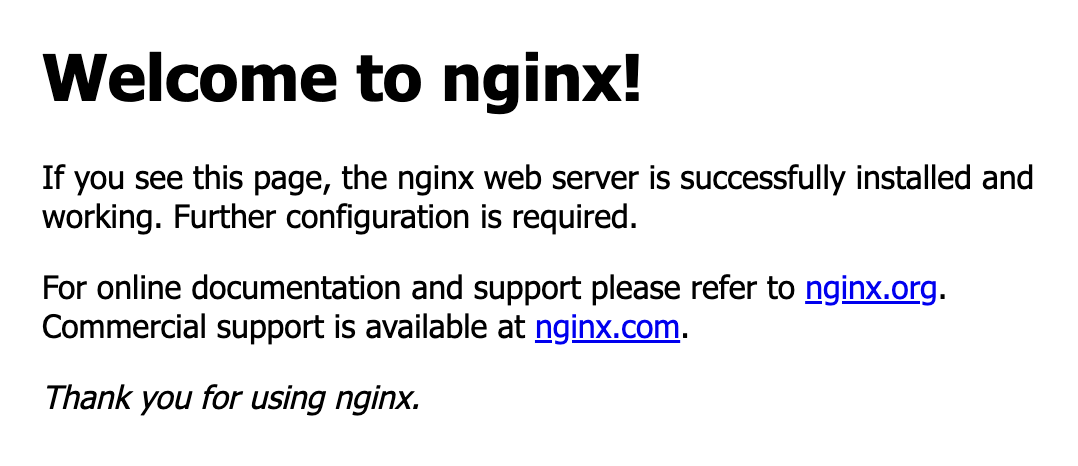
You can now use the assigned external IP address to access the Nginx server in a web browser.

Tear down the cluster
Now that you’ve completed the steps to create and manage a new cluster, you can delete the cluster. Upon deletion, the various cloud services and components associated with the cluster will be automatically removed from your project.
- Go to Kubernetes > Clusters.
- Find the cluster you created.
- Select Delete.
- Confirm the deletion. You’ll see a ‘deletion in progress’ message in the Clusters dashboard.
Once complete, all of the cloud resources associated with the cluster, including the network, ports, load balancers, and virtual machine instances will be deleted.